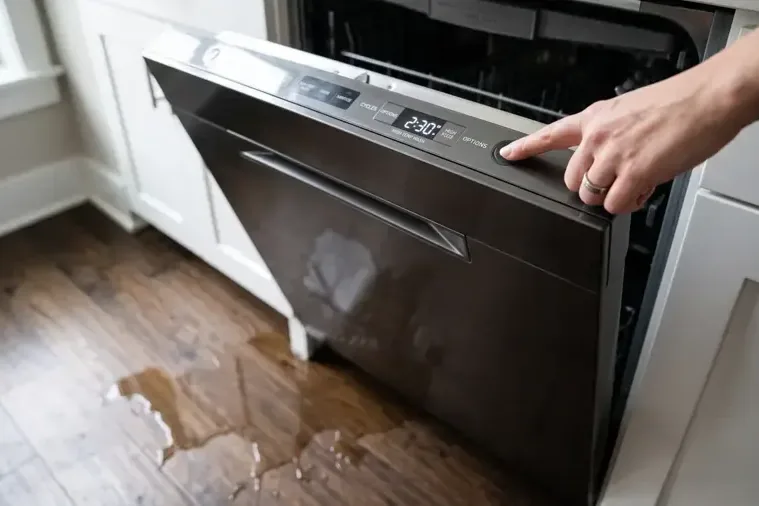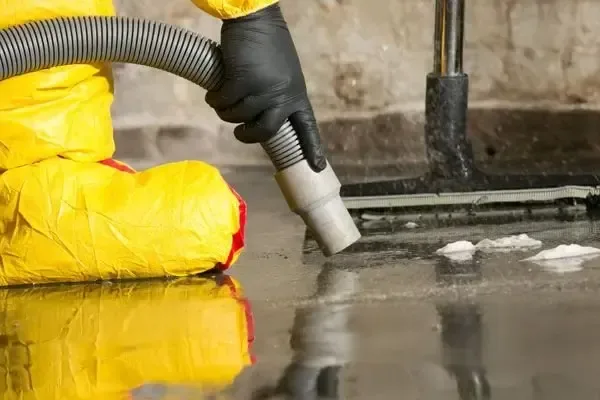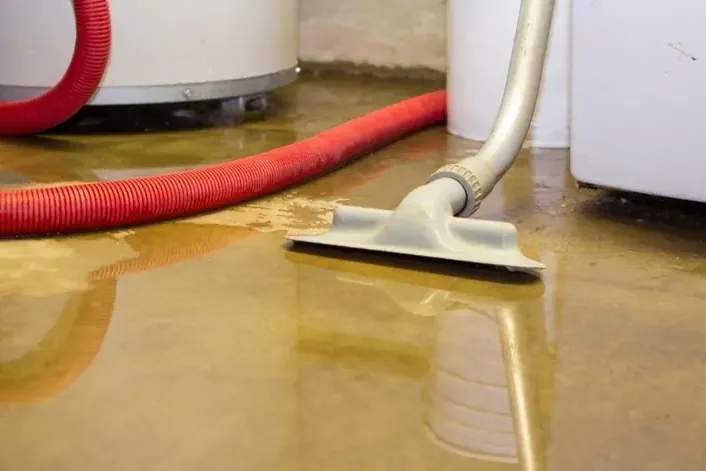
A water heater leak in Duarte may first appear as damp storage, a wet wall base or water escaping an enclosure. The tank needs safe attention, but the room also needs an inspection. Water can remain behind the equipment and beneath nearby materials after the obvious pool has been removed.
Key takeaways
- Keep clear of wet controls and have the water and energy sources assessed safely.
- Record the tank surroundings before clearing stored belongings.
- Check enclosure walls, door trim and the next room for moisture travel.
- Arrange access behind replacement equipment before installation closes the space.
- Separate the tank repair invoice from the record of building drying.
Make the enclosure safe before reaching the tank
A confined equipment area can contain hot surfaces, electrical components and plumbing connections close to the wet floor. The initial question is whether anyone can approach safely. Occupants should keep out of standing water around energized equipment and leave difficult isolation work to a qualified person familiar with the installed heater.
A valve that is buried behind storage or reached only by stepping into the affected area is not a useful occupant access point. The response should account for the actual path to the controls. Clearing a passage comes after the hazards are assessed, not while someone is leaning over wet equipment.
The water heater cleanup service addresses water outside the tank and damage to the enclosure. Equipment diagnosis belongs with the appropriate repair professional. Coordinating those roles early helps prevent a replacement tank from being installed over an area that still needs water removal or examination.
- Keep the enclosure entrance clear of bystanders.
- Describe wet controls without touching them.
- Arrange safe water and energy isolation.
Track what became wet before emptying the closet
Stored cartons, linens and small household items can hide the first damp area. Their condition helps describe where water stood and what it contacted. A few orderly photographs taken from a safe position can preserve that information before items are moved to provide access for the repair and cleanup teams.
The inventory should separate the contents from fixed construction. A damp box belongs in the contents record; swollen door casing belongs in the building record. Labeling the original location helps explain why objects on the floor were affected while items on a higher shelf remained dry.
The team can designate a dry sorting area outside the work route. Wet items should not be piled against unaffected walls or placed where they obstruct equipment access. Objects requiring disposal need their own description and photographs so the enclosure can be cleared without losing the evidence of their condition.
- Photograph stored items in place.
- Separate affected contents from dry storage.
- Keep the doorway available for authorized work.
Follow water through the wall base and doorway
An enclosure wall can be wet on its concealed side even when the finished face in the next room looks unchanged. The inspection compares wall bases, corners and accessible edges around the tank. Marks on trim, softened surfaces and elevated readings help identify where further access is useful.
The doorway deserves attention because water may escape beneath it and enter another floor assembly. A transition strip can cover the edge of a wet layer. The assessment follows that route into the adjoining space and records where the observations return to an appropriate unaffected comparison.
Extraction of accessible water can expose the floor for a clearer assessment. Removing the puddle is an early task, followed by checking what remains within walls and beneath coverings. A dry enclosure entrance should not become the only observation used to close the job.
- Measure beside and behind the equipment where accessible.
- Examine the opposite side of shared walls.
- Check under the doorway transition when warranted.
A drain pan is part of the inspection
The system inspection includes the pan, when present, and its visible outlet. The technician checks where water collected, traces the escape route and records any damage to the pan. A photograph preserves those conditions while the tank remains in place. Occupants stay clear of the equipment connections during that inspection.
Water on the surrounding floor can have more than one route, including a connection above the pan or an overflow beyond its edge. The observed source and the wet materials should be traced separately. That approach avoids assigning the entire release to a single visible part before the equipment has been examined.
Before a replacement arrives, the contractor plans the enclosure repairs, drainage arrangement and access needed for future servicing. The installation sequence leaves time to inspect and dry surfaces that the new tank will conceal. The responsible contractor checks the requirements for the proposed work before reconstruction or installation begins.
Use the removal window to inspect hidden surfaces
Tank removal may create the best opportunity to inspect the floor and wall immediately behind it. The teams should agree on that handoff before the replacement arrives. An empty enclosure gives a clear view of areas that may otherwise remain hidden for the life of the next appliance.
Photographs should show exposed layers, support condition and any material removed for access. The drying crew then establishes which retained surfaces need treatment and where readings will be taken. If an assembly remains inaccessible, the plan needs to resolve that gap before the equipment blocks it again.
The restoration crew identifies damaged wall sections before the replacement tank arrives. The repair contractor can then schedule removal, drying access and finish work around the installation. Equipment delivery is one part of that sequence; damp construction and unfinished enclosure repairs remain on the work list until each task is complete.
Dry the enclosure without blocking essential access
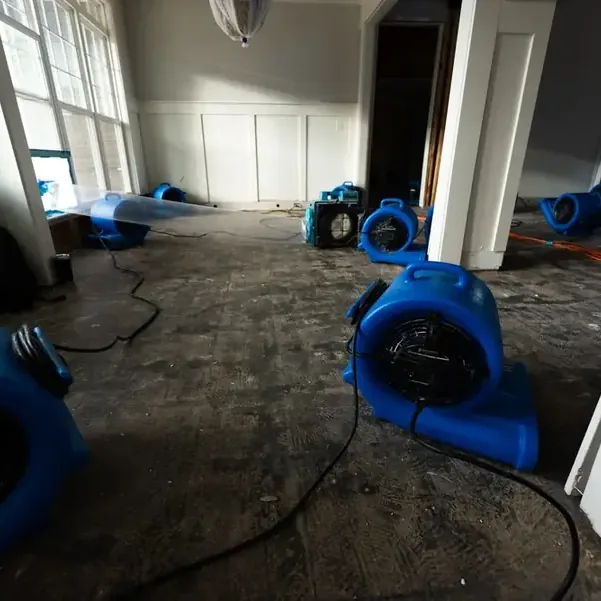
Small rooms need deliberate equipment placement. A hose across the only entrance, a cable pinched by a door or an air mover aimed at an inaccessible cavity can undermine the work. The layout should preserve the service path and reach the surfaces identified during the inspection.
The material drying process uses repeated readings and suitable room conditions. When a wall base dries slowly or a floor layer stays wet, the crew checks access and adjusts the equipment arrangement. The next measurements show how that location responded, with the change recorded beside the reading.
Occupants need clear instructions about doors, equipment and items temporarily moved from storage. Returning boxes to the enclosure too early can block airflow and hide surfaces still being monitored. Storage can resume when the working area has been released and the final condition is documented.
Keep a clear boundary between repair and recovery
The repair receipt describes the tank work, while the restoration record follows the surrounding enclosure. Together they identify the corrected source, damaged contents, removed construction and materials dried in place. A separate finish-work list names any wall, floor or trim repair still awaiting a contractor so the next visit has a clear purpose.
Labels connect the final moisture readings to the enclosure locations inspected at the start. Photographs show the cleared floor, repaired wall and restored service space. The closeout also lists remaining marks, distortion or other physical damage, giving the homeowner a clear view of what drying resolved and what still needs repair.
For a Duarte property, that organized handoff makes later maintenance easier. The file shows which components were replaced and which materials were dried in place. If moisture appears again, the repair professional has a specific history to compare with the new observations instead of an undated recollection of a wet closet.
Questions
Is a water heater leak always visible beneath the tank?
Water may first show at an enclosure edge or in nearby storage. A source inspection checks the equipment while a separate moisture survey follows the affected construction.
Can stored boxes stay beside drying equipment?
Items that obstruct airflow, conceal wet surfaces or narrow the work path should be relocated to an appropriate sorting area. Their original positions can be preserved in photographs.
Should replacement happen before the wall is inspected?
The schedule should allow the concealed wall and supporting surface to be assessed while access is available. Installation and restoration contractors can coordinate that opening in the work sequence.
Will wallboard always need removal?
Its exposure, physical condition, backing and drying access determine the decision. The assessment should name the affected section and explain the reason for retaining or removing it.
What documents belong with the replacement receipt?
Useful companion records include the source diagnosis, enclosure photographs, contents inventory, drying measurements and a description of finish repairs. Together they describe the equipment and the surrounding room.