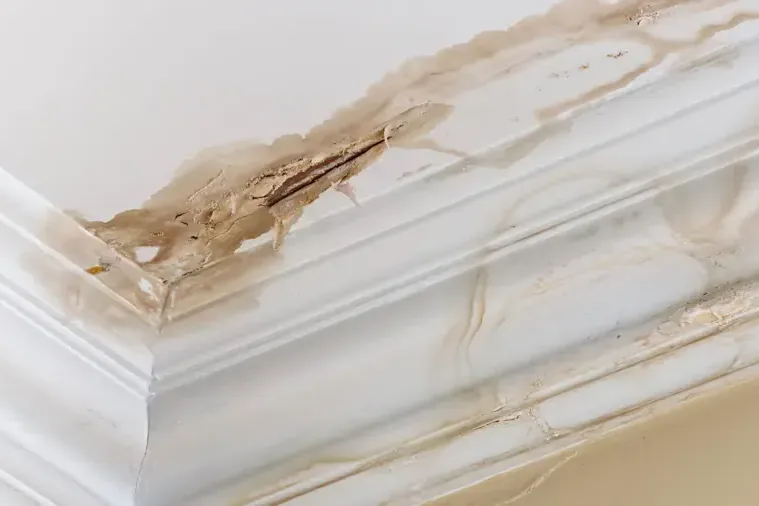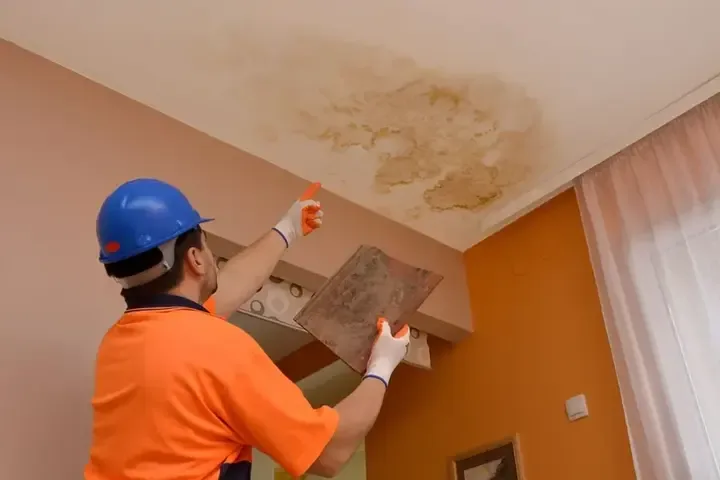
The Great Park project description identifies multi-story townhomes at Sage Court and Parsons Place in Azusa. In a home with rooms above other occupied spaces, a ceiling leak needs a vertical investigation. The stain below, the possible source above and the cavity between them each belong in the assessment.
Key takeaways
- Keep people clear of sagging ceilings and wet electrical fixtures.
- Report which upper room sits above the first visible stain.
- Arrange authorized access to every affected level before source testing.
- Track ceiling cavities and floor edges separately from the plumbing repair.
- Leave reconstruction until the concealed assembly has been assessed and released.
An overhead stain changes how the room is used
A ceiling that sags, sheds material or holds visible water needs a protected area beneath it. Occupants should avoid standing below the damaged portion or using a ladder to press on the surface. Wet lighting and nearby electrical fittings add another reason to keep clear until the appropriate professional assesses the space.
Furniture and personal belongings should be moved only when the route and overhead conditions are safe. The first photographs can be taken from a secure doorway rather than from directly beneath the stain. The room record should identify both the damaged ceiling area and the access restrictions it creates.
The ceiling leak assessment starts with those conditions before any opening is made. The crew determines how to inspect the assembly without exposing occupants to falling material or wet electrical components. A protected working area also keeps later inspection debris away from unaffected belongings.
- Keep the space beneath sagging material unoccupied.
- Describe wet fixtures without touching them.
- Photograph the visible boundary from a safe position.
Map the upper room and the lower symptom together
The room above the stain may contain plumbing, an appliance or another source worth investigating. The layout should identify the relevant fixtures and the route to their connections. Water can move along a concealed surface before appearing below, so the ceiling mark is a starting point for tracing rather than an exact source location.
The project description also identifies townhomes at Arborview/Tamarind Lane near the Great Park site. At an individual property, the inspector needs the actual floor plan and access arrangements. A simple vertical sketch can connect the upper fixture, floor assembly, ceiling below and any adjacent wall that has become damp.
Notes should distinguish what an occupant observed from what a technician later confirmed. A stain appearing during appliance use is useful timing information, while the failed connection still needs diagnosis. Keeping those entries separate helps the repair team select an appropriate test without losing the original discovery account.
- Name the room directly above the stain.
- Mark nearby fixtures and appliance locations.
- Record when dripping appeared or changed.
Access coordination can determine the next useful step
The crew first identifies who controls access to the rooms above and below the stain. A shared or adjoining space needs an authorized contact before testing or openings begin. The person approving work receives the proposed inspection locations and the reason for each, so access arrangements follow the water path through the building.
A closed room above the stain can prevent the source professional from checking the most relevant fixture. The schedule should make that access available while the lower area is protected. Repeated visits become less useful if the repair and inspection teams are never able to see the connected spaces together.
Where a plumbing appliance is suspected, the appliance water damage assessment can be coordinated with the overhead inspection. Moving or testing equipment requires an appropriate professional and safe conditions. An occupant should not deliberately run a suspected leaking appliance to recreate the symptom for photographs.
- Identify who controls access to each level.
- Arrange the source inspection before concealing openings.
- Keep room labels consistent between contractors.
Ceiling cavities need more than a fresh coat of paint
The finish may cover framing, insulation and other materials that remain wet after dripping stops. An inspection considers the condition of the surface and the space behind it. A small visible mark can lead to a larger concealed assessment when readings, deformation or accessible openings show water spread beyond the stain.
Any opening should have a defined purpose and a controlled work area. The crew documents the layers revealed and the condition of retained materials. That record helps explain why a ceiling section was removed and gives the reconstruction contractor a view of the assembly before it is closed.
Ceiling painting follows source repair and the necessary treatment of wet materials. Before finish work begins, the crew records the cavity findings, retained materials and drying measurements. That record gives the homeowner and painter a clear handoff and keeps a fading surface stain from becoming the only measure of progress.
Trace sideways travel at walls and floor edges
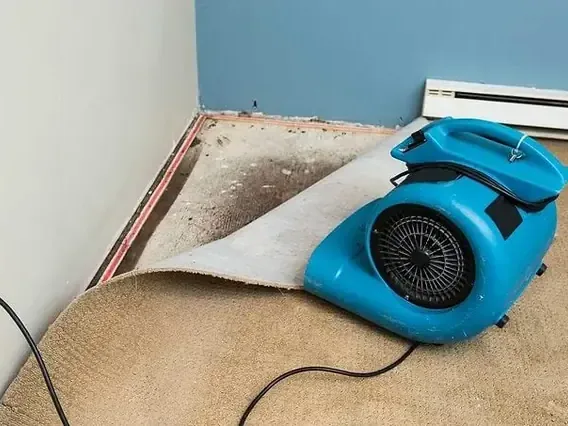
Water moving through an intermediate floor can reach a wall junction before it becomes visible in the room below. The inspection follows ceiling edges, adjoining walls and the accessible floor perimeter above. Each location should be assessed on its own material and condition instead of being included in a single ceiling average.
A lower wall base may become wet after water descends through a cavity. The crew can compare that path with the upper observations and identify where further access is needed. This connects the investigation across levels rather than treating every visible patch as an unrelated repair.
Water removal from accessible surfaces may be necessary upstairs while overhead materials are being assessed downstairs. Coordinating the sequence keeps new liquid from entering a cavity that is already under treatment. Source control and the evolving moisture map should remain visible to everyone directing the work.
Drying progress should be recorded by assembly
Ceiling board, framing and the upper floor can respond differently because they occupy different parts of the assembly. The drying plan should identify the retained materials and the routes available for evaporation. Room air conditions support the work, but they do not replace measurements of the affected structure.
A location that improves slowly deserves an explanation based on the inspection. Restricted airflow, damp insulation or another hidden layer may need attention. The crew should document the response to any change in access or equipment so later decisions can be tied to what actually happened.
A quiet ceiling with no active dripping may still need monitoring. The endpoint should account for the materials that became wet, including any newly exposed cavity surfaces. That approach makes the handoff more useful than an informal observation that the room now looks normal from the doorway.
Reconstruction should follow a connected room record
The repair file should connect the upper source work to the lower ceiling treatment. A plumber's description, room photographs and drying notes together explain how the loss was addressed. The reconstruction contractor can then see which openings need closure and which finishes need replacement or refinishing.
Before the ceiling closes, the project contact receives a list of remaining work that affects reconstruction. A damaged floor edge upstairs or an electrical assessment downstairs stays on that list with its responsible contractor. Separate completion notes help the ceiling installer coordinate closure with the work in the connected rooms.
For an Azusa townhome, the strongest closeout follows the whole vertical path. It identifies the repaired source, treated cavity and restored lower room, with unresolved finish tasks named explicitly. That sequence gives future occupants and maintenance contractors a clear history if another stain appears in the same area.
Questions
Does a ceiling stain identify the fixture directly above it?
The leak may travel along hidden framing or another surface before becoming visible. A source professional compares the room layout, timing and inspection findings to locate the failure.
Should an occupant puncture a bulging ceiling?
A bulge can involve unstable material and water near electrical components. The area should remain clear while a qualified crew determines safe access and controlled removal.
Why does the upstairs floor need inspection too?
The floor assembly may hold moisture around the original release even while water appears below. Assessing both sides helps define the affected layers and the necessary access.
Can a ceiling be repaired while another room is drying?
Work can be staged when the relevant assembly has reached its documented endpoint and remaining tasks are coordinated. Readiness should be specific to the section being closed.
Which records help explain a repeated stain?
A vertical room sketch, source repair description and photographs of the exposed cavity provide useful comparisons. They show what was treated previously and where a fresh investigation should begin.